
Reset TCP / IP Stack on Windows 10
 |
1. Click the Start button in the bottom left corner of the screen.
2. Type Command Prompt in the Search bar. Then right-click on the Command Prompt icon, and select Run as administrator.
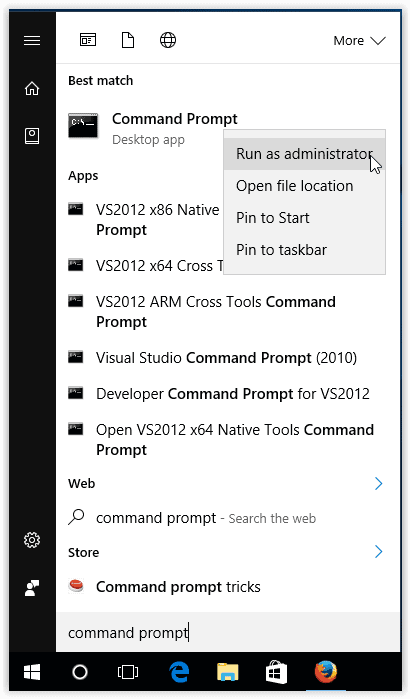
3. If prompted, select Yes to allow changes to be made to computer.
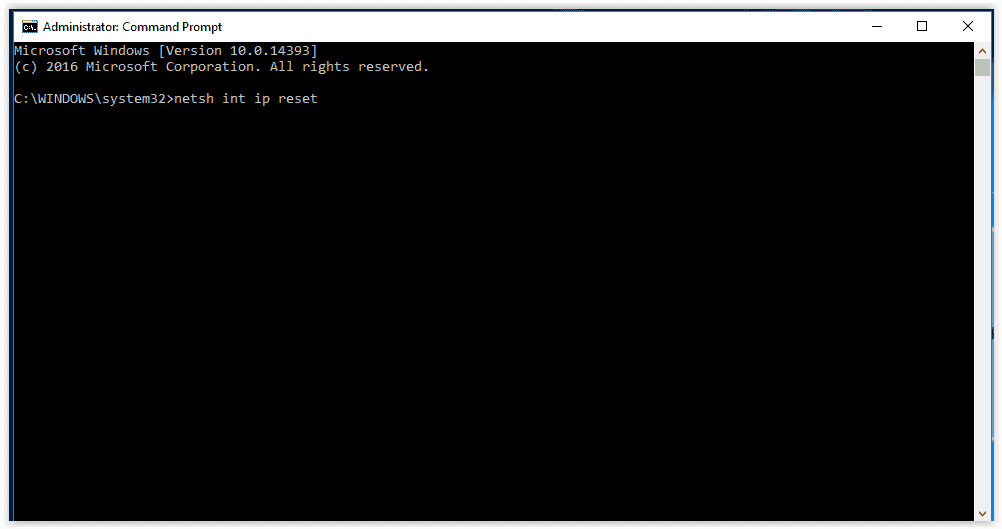
4. Type in netsh int ip reset, and press Enter.
Note: To use network reset, your PC must be running Windows 10 Version 1607 or later. To see which version of Windows 10 your device is currently running, select the Start button, then select Settings > System > About.
- After using network reset, you might need to reinstall and set up other networking software you might be using, such as VPN client software or virtual switches from Hyper‑V (if you’re using that or other network virtualization software).
- Network reset might set each one of your known network connections to a public network profile. In a public network profile, your PC is not discoverable to other PCs and devices on the network, which can help make your PC more secure. However, if your PC is part of a homegroup or used for file or printer sharing, you’ll need to make your PC discoverable again by setting it to use a private network profile. To do this, select the Start button, then select Settings > Network & Internet > Wi-Fi. On the Wi-Fi screen, select Manage known networks > the network connection you want to change > Properties. Under Network profile, select Private.